Manual-Upload
This is a easy download process user guide, it provides that download method to the end user to download firmware, voice, database, etc...
Before executes the download program, you shall check what’s computer installing in your current PC.
Applies to Microsoft Windows XP / 2000 (X86) Service Pack 2 prior to Version
• PL-2303 USB-to-Serial (2.99MB)
• Microsoft Installer 3.1 (2.6MB)
• Microsoft .Net Framework 2.0 (23MB)
* If you use the Microsoft Windows XP / 2000 (X86) Service Pack 2, you must install upon three programs before downloading.
Applies to Microsoft Windows XP / 2000 (X86) Service Pack 3 prior to Version
• PL-2303 USB-to-Serial (2.99MB)
• Microsoft .Net Framework 3.5 (2.8MB)
* If you use the Microsoft Windows XP / 2000 (X86) Service Pack 3, you must install upon two programs before downloading.
Applies to Microsoft Windows Vista / 7(X64)
• PL-2303 USB-to-Serial (2.99MB)
* If you use the Microsoft Windows Vista(X64), you must install upon the program before downloading.
Applies to Microsoft Windows Vista / 7 (X86)
• PL-2303 USB-to-Serial (2.99MB)
* If you use the Microsoft Windows Vista (X86), you must install upon the program before downloading.
Step 1
Connect the USB download from PC to Speed camera locator.
Step 2
The speed camera locator shall be show the system at download model.
Step 3
Please press the UPLOAD button icon which is located at web right side.
Step 4
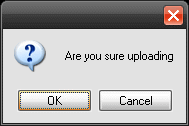
After that, there is a message as like as below, and please press OK button to accept the next steps.
Step 5
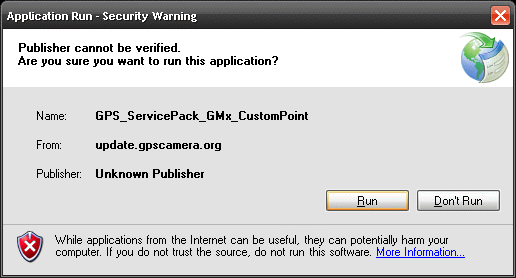
You can see the application run-security warning message, please press Run button to accept the next steps too.
Step 6
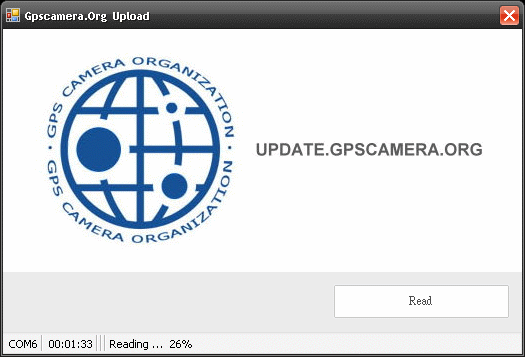
Please click Read button as below, waiting a moment for checking POI of database from GPS radar detector.
Step 7
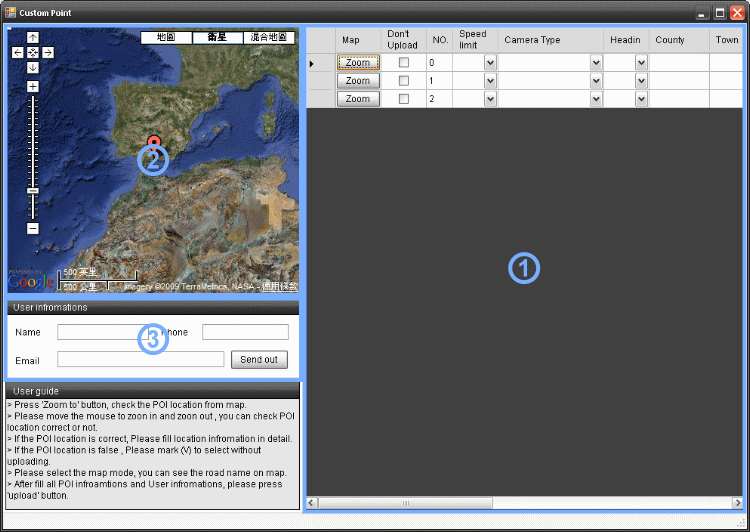
After uploading database for GPS radar detector, you can see the POI table.
Fill information in detail as the same database table as below:
Column description in keyword
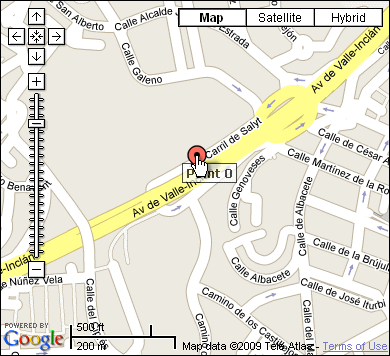
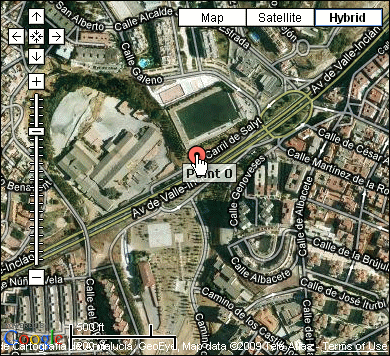
• Zoom:Click the zoon button, and you can review the POI location from Google map.
• Don’t Upload:Some POI location, maybe it’s only testing pinpoints. You shall mark it without uploading to server.
• You can edit some information about the speed limit, camera type, head in of POI direction, County, Town, Road etc. and fill the location address in detail according real address. You can edit that by the icon to select it. ▽
• Speed limits: it’s from 20 to 160 km/hr (mile).
• Camera Type: there are several types in column.
1. Red Light camera (Red-light cameras ahead, speed limit is △△ Km per hour)
2. Fix Speedcam (Fixed cameras ahead, speed limit is △△ Km per hour)
3. Mobile Speedcam (Moible cameras ahead, speed limit is △△ Km per hour)
4. Tunnel (Tunnel ahead, speed limit is △△ Km per hour)
5. Toll booth ( Toll booth ahead, speed limit is △△ Km per hour)
6. Section camera positions (Section camera ahead , speed limit △△ Km/h)
7. Tunnel Speed cam (Entering tunnel speed camera ahead ,Speed limit △△ Km/h)
• Head in: It’s a pinpoint direction of your travel, and provides the warning direction from the start point.
• Edit:There are three kinds of types
Add - Mark POI with add new speed camera
Remove - Mark POI with Speed camera delete
Revise - Mark POI with modify some information
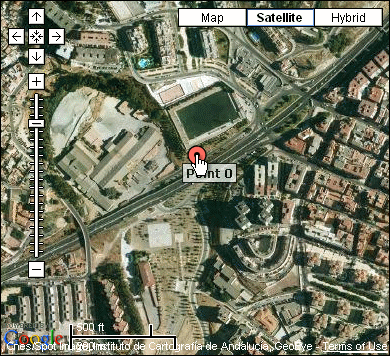
How to check if the pinpoint location is correct? Please check the figure 1
Click the zoon button, and you can review the POI location from Google map. To select which one is best one for you, it offers three type maps which provides Google map.
Before uploading database, please fill the user information in detail and then send out it.
The A/S server worker would possible to touch with you if necessary. All database will be checked it again, and share to others user later.
Step 8
Uploading now, please click the OK button.
Step 9
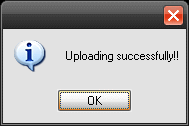
Wait a moment, after uploading, it will show upload successfully.


